
Although definitely not perfect, for the cost of one night in a nice hotel, we are getting a lot of enjoyment out of these rooms now!
Today's post is all about Paprika and Ginger's Bathroom. We also re-did our other bathroom...but I will save that post for another day!
We had very little time to do the bathrooms, since Mr. Mustard works a more than full-time job and the only time I have to work is when the girls are sleeping (which if you know us, isn't very often- ha!) Also, this bathroom shares a wall with Ginger's room...so any work done while she was sleeping had to be super-duper stealth!
We did all the work 100% ourselves with no outside assistance, basically in 15 minute increments! This really helped keep our costs down, although it didn't do much for our sanity!
I took a hundred gazillion pictures of the process...and am doing my best to only show you a few! It is hard because I want to show them ALL to you! But I realize you might not have the next twelve hours to scroll through pictures. Ha!
I am going to show you one or two BEFORE shots, and then some AFTER pics...and then I will show you a bunch more Befores, Durings, and Afters for anyone who is interested in sticking around!
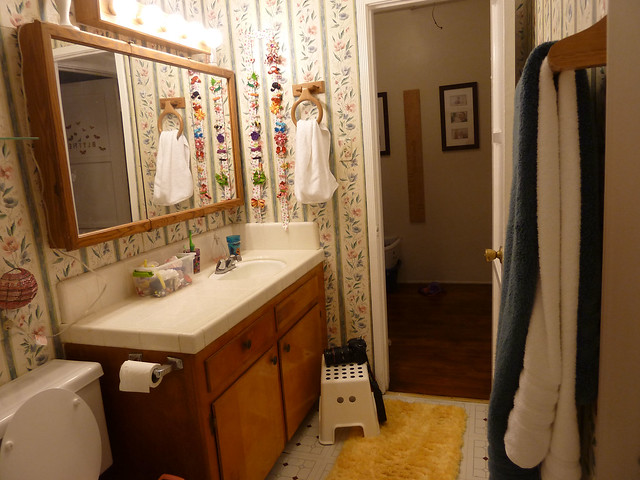
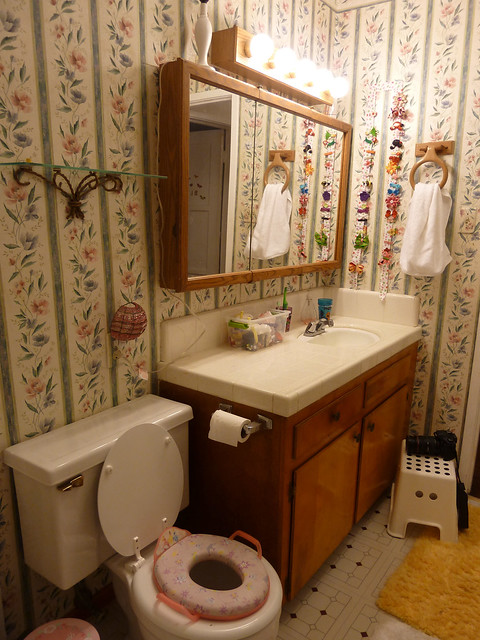
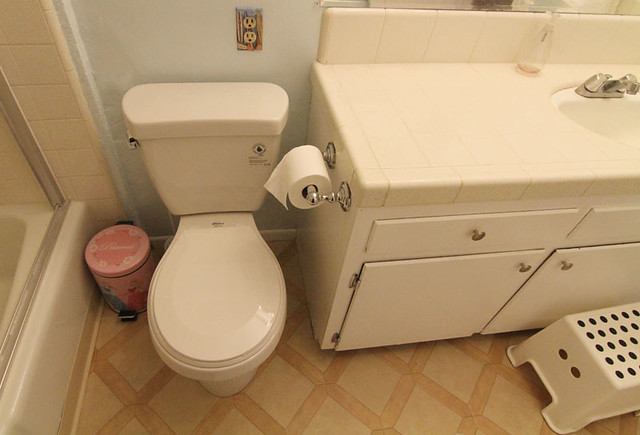
Before:
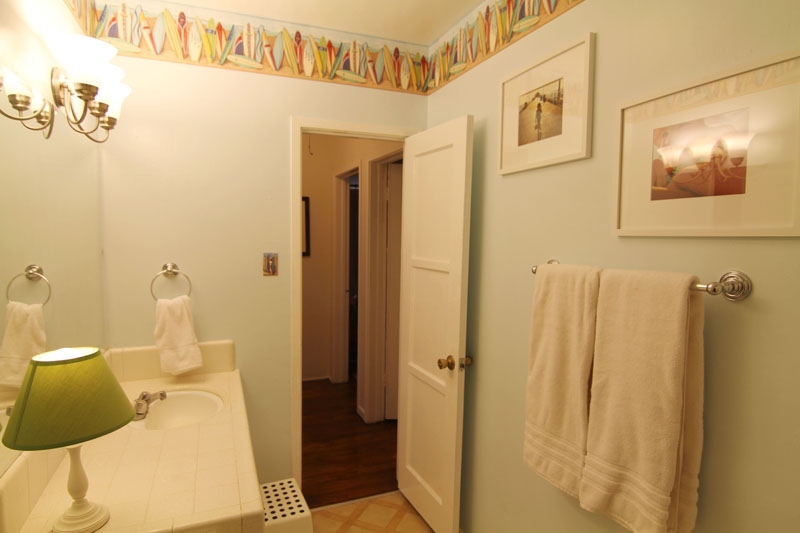
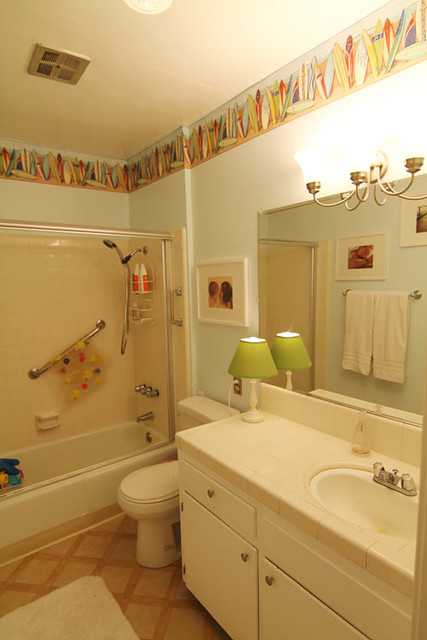
After:

Here are some durings, some explanations...and other stuff:
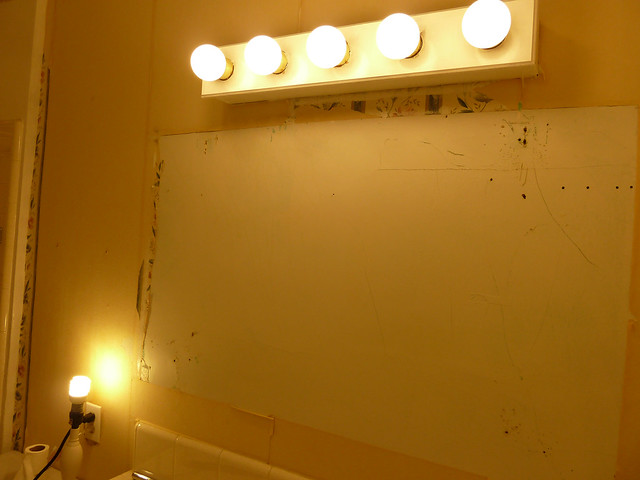
This is BEFORE. The combo of the light fixture, the cabinet that stuck wayyyyy out, and the 40 year old wallpaper just wasn't doing it for us.
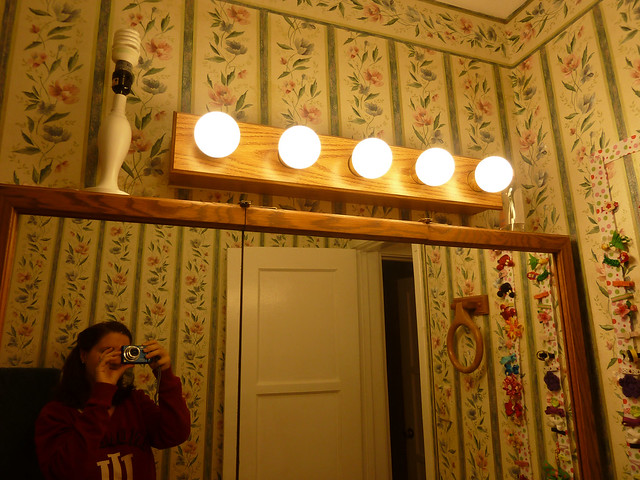
We also wanted to update the fixtures from wood to chrome:
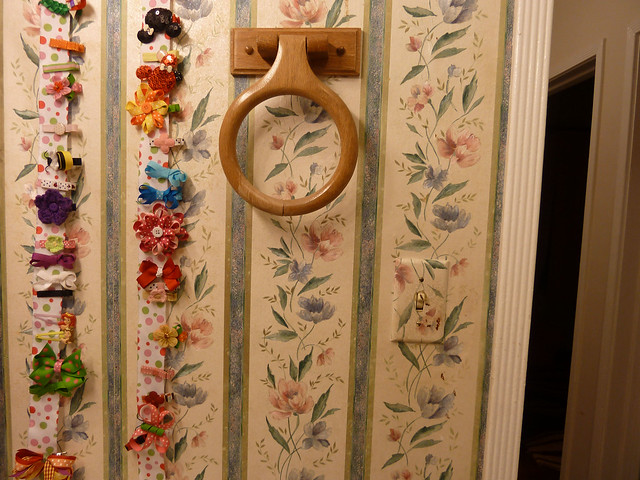
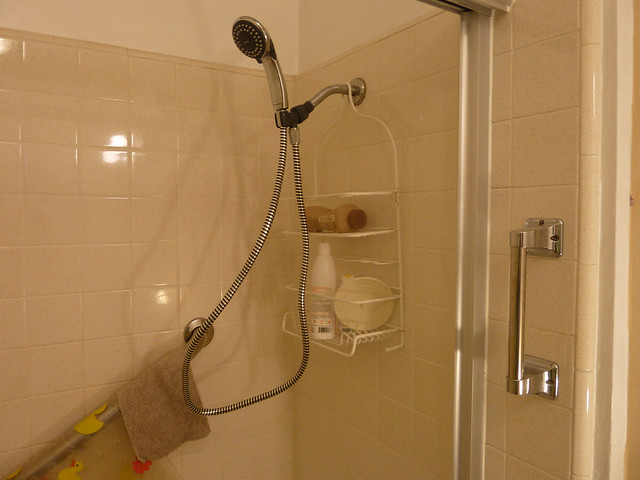
And get rid of this rickety glass shelf:
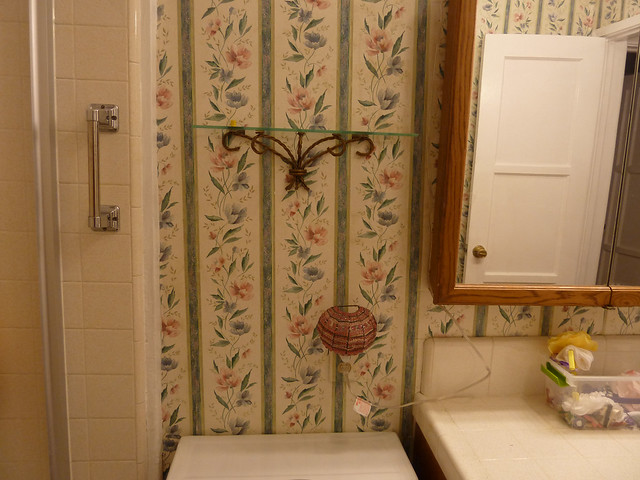
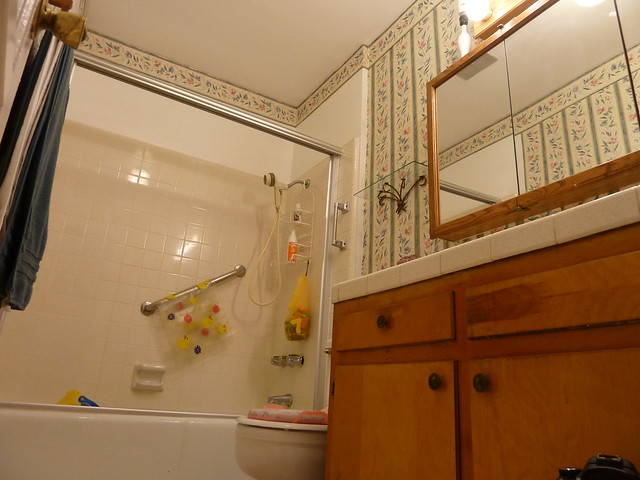
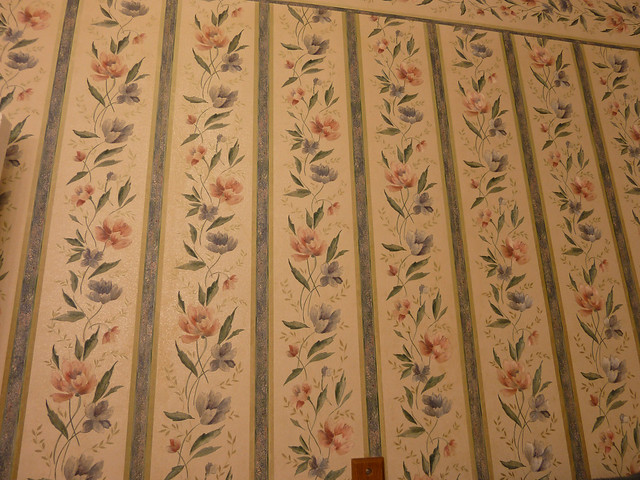
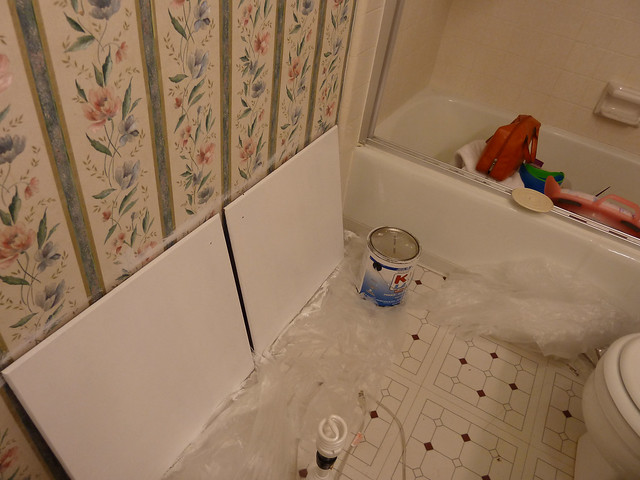
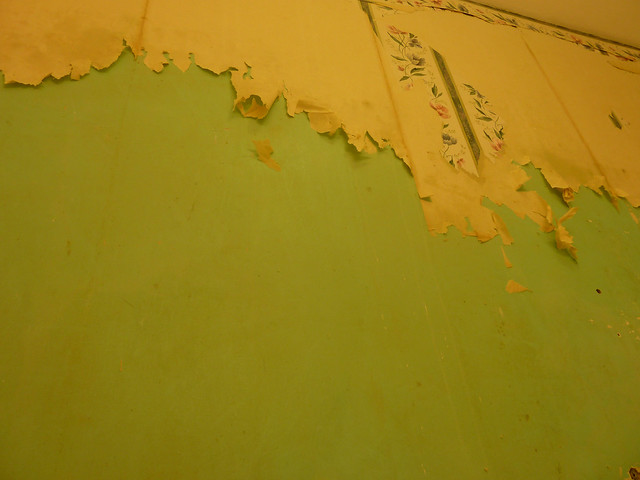
We faced miles and miles of wallpaper that needed to GO!
The floor was peel-and-stick tile (we're guessing from the 1970s), and the tiles had started to crack and get lots of gunk in them. They were outta there!
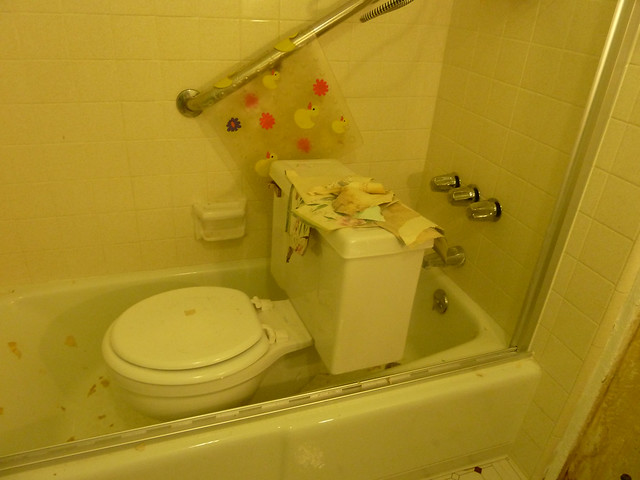
Old toilet that worked sometimes...and a cabinet that needed a facelift:
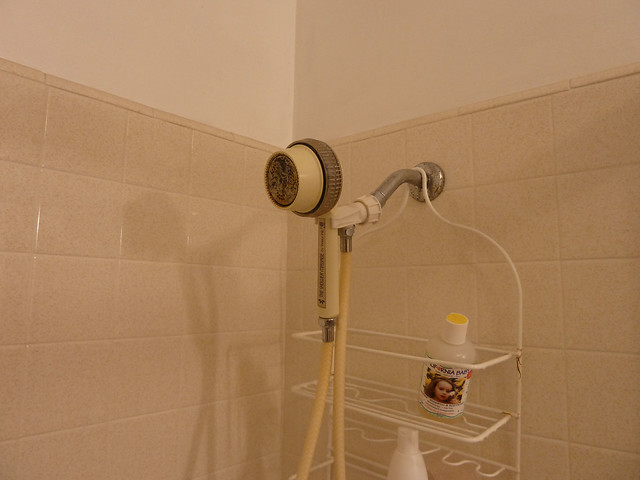
Showerhead also doubling as a petri dish!
One last look at the Before:
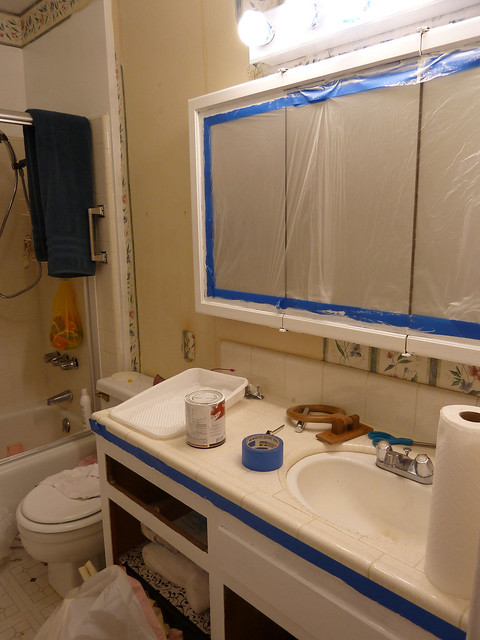
First Stage of "During" - when I thought I could just paint the light fixture and the medicine cabinet white and call it a day:
Painting the cabinet doors:
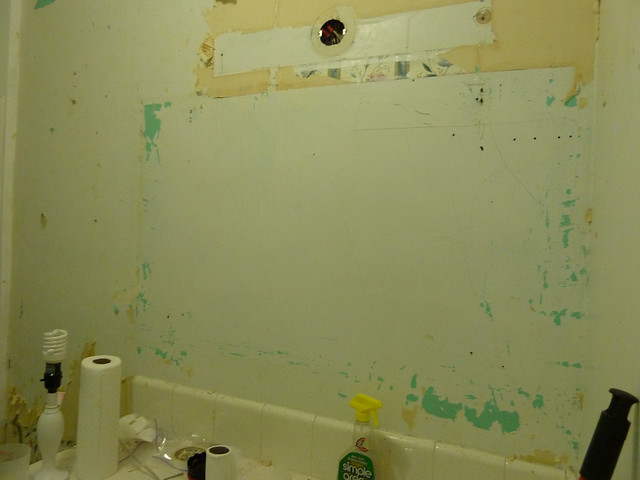
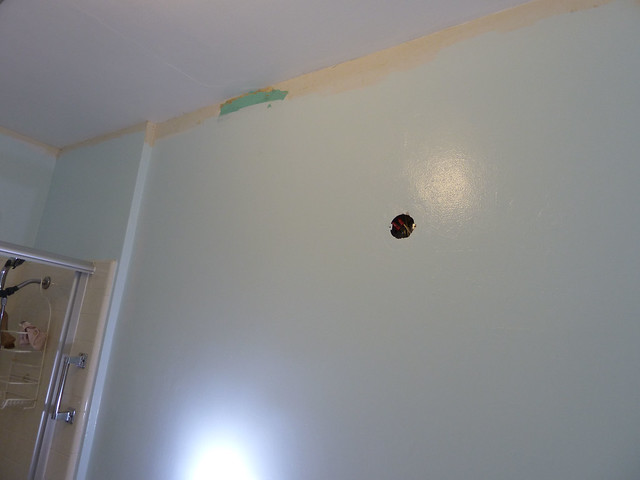
Took the medicine cabinet down- scraping the wallpaper (two layers):
The wallpaper was made of two layers- a top waterproof layer (the flowery part), and the bottom extra-sticky layer that looked like paper. Under that layer was bright green paint!

I took off the wallpaper using a home steamer. I bought the Wagner 905 for $85 - and figured I could use it again for other cleaning projects. It has proved to be super useful, and I am glad I bought it! (No one is paying me to say that, promise!)
The only downside was that I burned my leg when I was steaming the wallpaper off when water dripped. Ouch!
Replaced the showerhead, stat! I think I got this at Target for $20 on sale:
Wallpaper scraping that went on for eons!
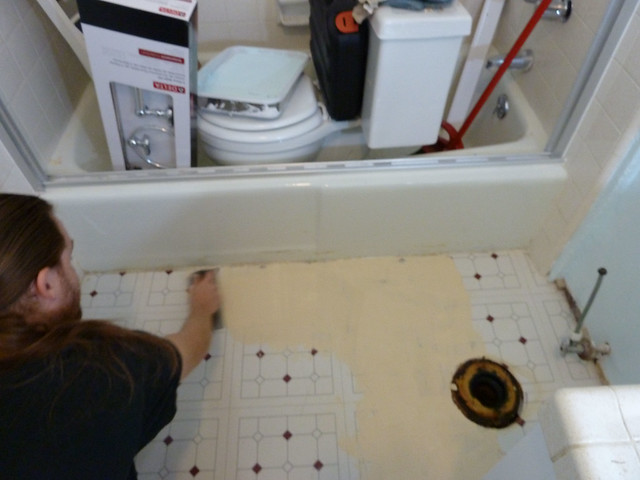
Took the toilet out to start on the floor:
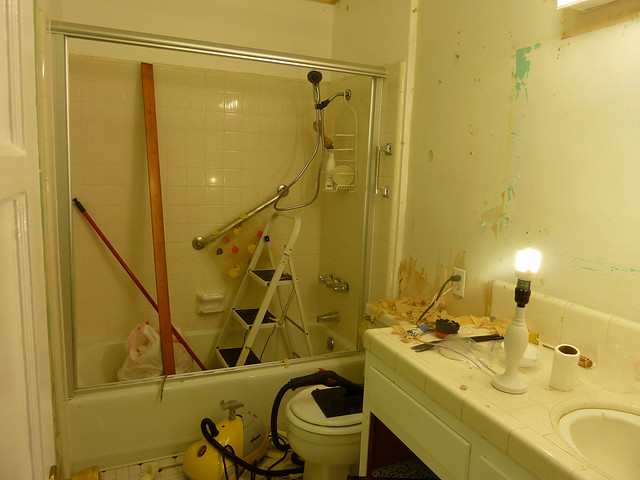
Took the light fixture out and the mirrored cabinet:
Cue the Dueling Banjos!
Getting Ready to Primer and Paint:
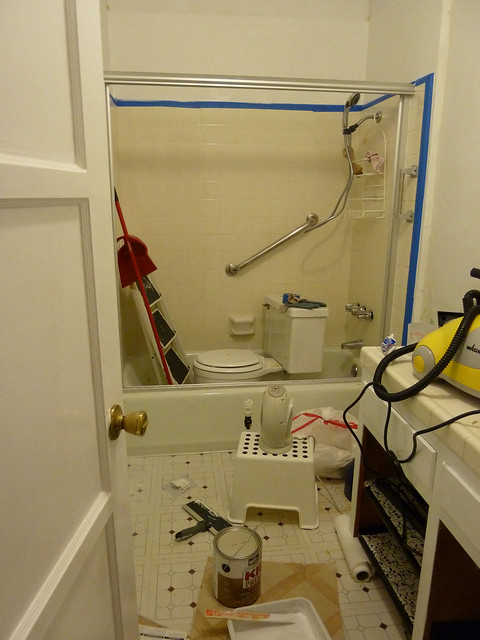
A few coats of Primer and Paint later (Behr Coastal Mist is the color):
Where the old medicine cabinet and light fixture used to be:
Laying down the adhesive for the new floor. For the floor, we went with the laminate sheet flooring we had leftover from our old townhouse, since it was free! When we did the floor over at our old place six years ago, we kept the scraps, and we ended up having enough to do both bathrooms here. Plus, we had adhesive leftover, so that was also free. Cost to put in new floors? Zilch!
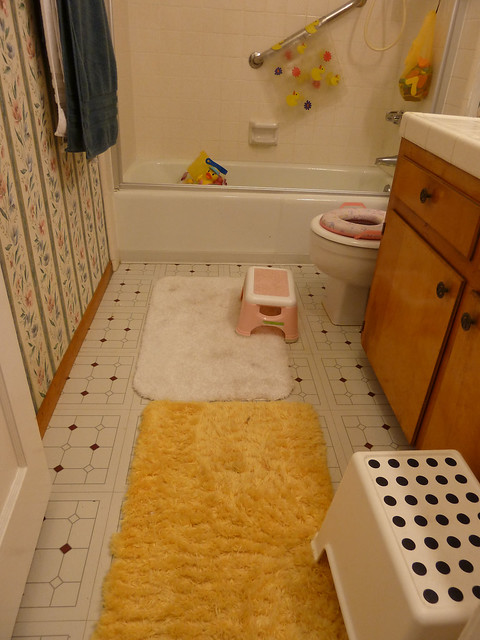
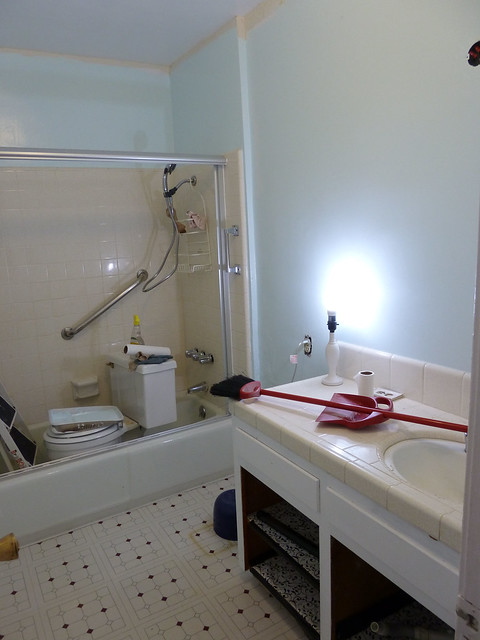
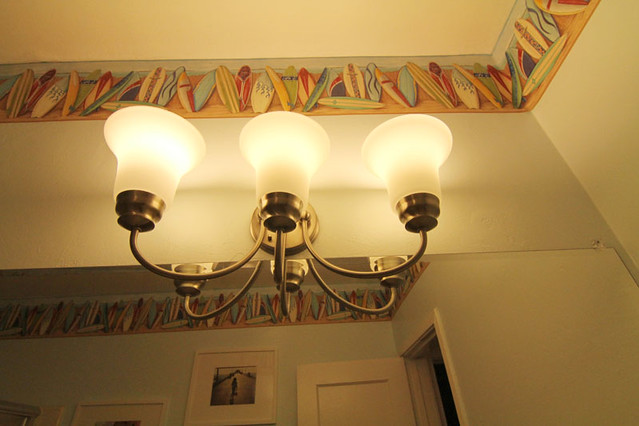
Here is the bathroom after the floor went in, the light fixture went up, the new mirror went up, we hung the wallpaper border, replaced the toilet, and replaced all the hardware on the cabinet and replaced the towel racks:
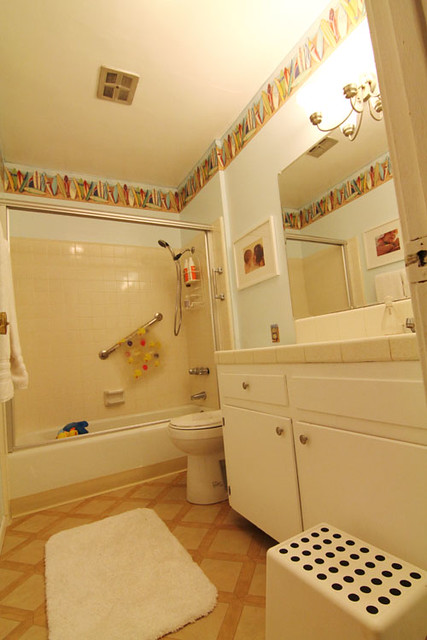
It is the same cabinet- just with a coat of white paint.
The surfboard wallpapaper border is from Ebay. It was $12 (including shipping) to do the whole border. It was self-adhesive...we just had to dip it in water.
The mirror is from Home Depot and cost $40. The light fixture and new towel racks are also from Home Depot and cost about $75 for everything. The new hardware on the cabinets was $5.
I hung 8x10 photos of the girls as artwork- the white frames are from Target and were $8/each. The photos were free with a coupon for Shutterfly!
The outlet covers were made by a lady on Ebay to match the wallpaper border. Those were $6/each.
The new toilet was free! Gratis! We got it through a toilet exchange program with Los Angeles County. Basically, you bring in your old water-wasting toilet and a water bill (proving you are a resident), and they will exchange it for a brand new, water-saving toilet for free. Cha-ching! All you have to do is pop the old one off, and put the new one on. Cha-zam!
The best part is that this will save us a lot of money every month on our water bill, and is great for the environment!
We kept the same white towels, rug, bathmat, and trashcan. I should probably replace those at some point...but just haven't gotten around to it yet...and they match...mostly! ;-)
One last look:
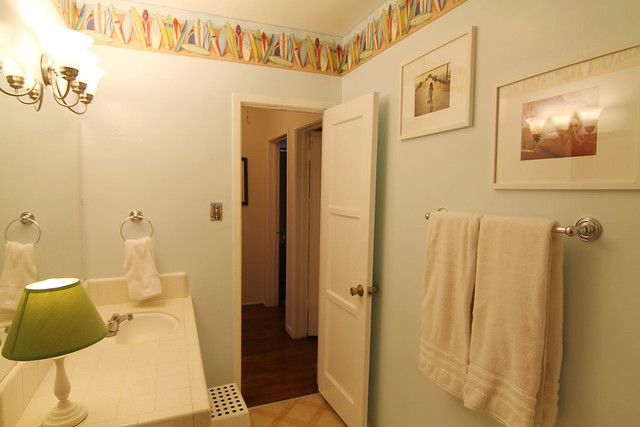
So, that's the girls' bathroom!
Here is the cost breakdown:
Paint and Primer- $40
New Cabinet hardware- $5
New Mirror- $40
New Light Fixture - $50
New Towel Racks - $25
Wallpaper border- $12
Lightswitch covers- $12
New showerhead- $20
Steamer - $85 (I am including this even though I am using it for other things)
Total Cost: $289
Now I can breathe a sigh of relief because I have finally shown you our little labor of love. I am overall pretty pleased with it - with more money and more time we would do things differently, of course! But for right now, I am pleased as punch with our effort!
What do you think???? :-)


11 comments:
I know it was hardwork but it was well worth it! It looks great!
i love it!!! you guys did a fabulous job...now can you move here and do something with my house?! it doesn't need updating just a splash of style and some love :)
Wow, very impressive!! I bear several scars from my run-ins with a steamer. ;-)
LOVE it Erika!!! It looks so good! Your hard work definitely paid off - that is a CUTE bathroom!
Wow! I can tell that was a lot of work but for a great pay off :) And I love the toilet exchange program. Such a great idea, I hope they institute something similar in East Coast metropolitan counties.
Good work!
OMG, you MUST come to our house and teach us how to remodel without paying a fortune...which it seems that we do compared to $300!!!
Great job!!
Looks just wonderful! I am so impressed (and hanging head in shame with my two half-finished bathrooms in need of scraping, painting and filtering). How did you have the energy to do that after work and a full day with the littles?
Wow, that was SO worth the effort! What a pretty, bright, clean-looking bathroom. Hooray for DIY!
You are so hired! Love the surfboards. (-;
What an amazing transformation! Love it and love the budget!
Post a Comment