Our little Master Bath redo cost us $195 total.
Now, I had been itching to redo both bathrooms for awhile. But the straw that broke the camel's back was when Lauren Green came to visit us and I was sooooooooo embarrassed by our bathrooms (yes, Lauren, it is true!) After seeing photos of her amazing house in Florida, I was inspired to spruce up our bathrooms. Haha!
Just like last time, we did the whole bathroom revamp by ourselves, with no outside help, while corralling our 1 year old and 4 year old! We got a few gray hairs in the process, but when it was finished, we were happy we did it!
Again, I will show you a Before, an After, and then some Durings. At the end, I have more Befores and Afters:
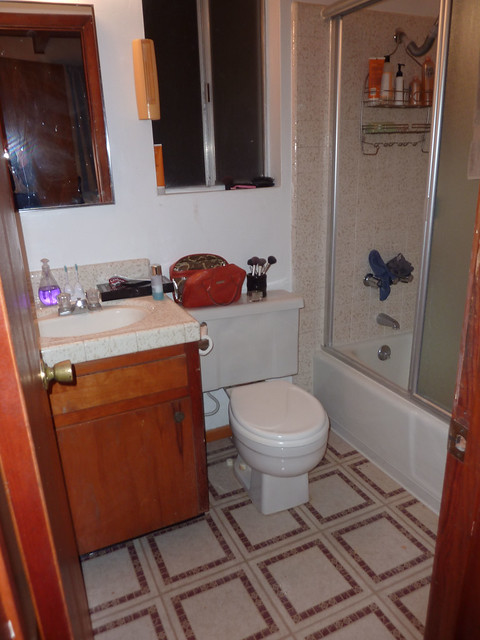
Before:
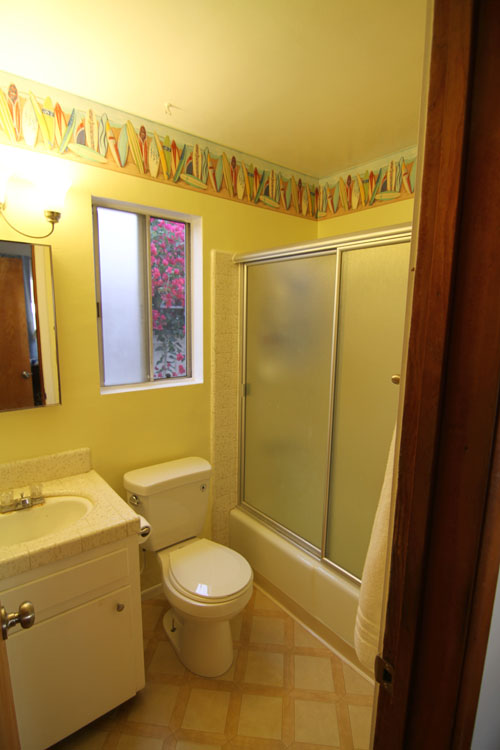
After:
During:
We knew we wanted to replace the floor and paint the cabinet white:

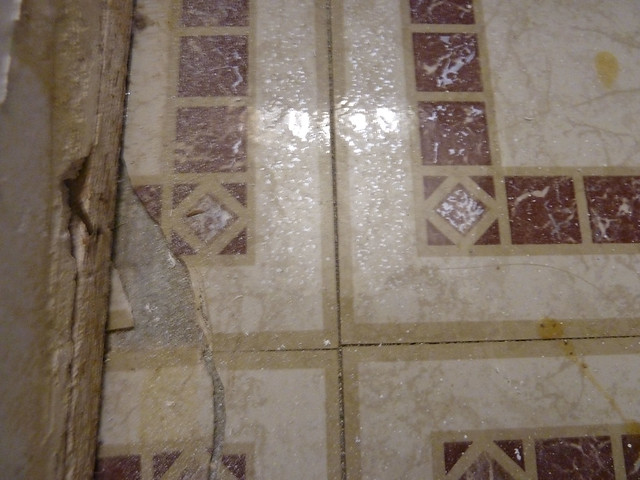
The floor was vinyl tile, and it was cracking, badly. Plus, it ws just plain ugly! :-)
The wallpaper border wasn't exactly our style! Thankfully, it peeled right off. No steaming required!

Our old toilet didn't really work very often. That's all I am going to say about that.
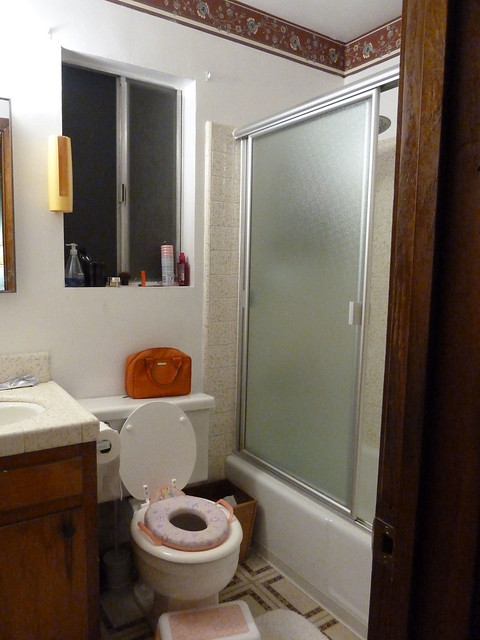
The old light fixture needed to go!

Here it is after we took out the old light fixture, primed and painted:

I think he is saying: Why are you making me do this? Or maybe: Lord, Help Me!

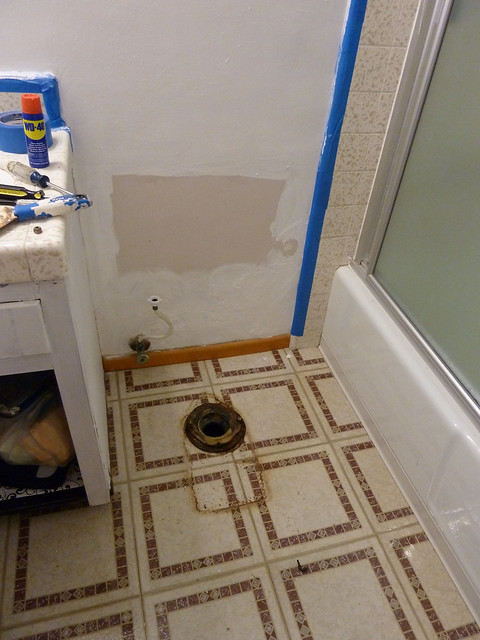
Toilet is out of the bathroom...
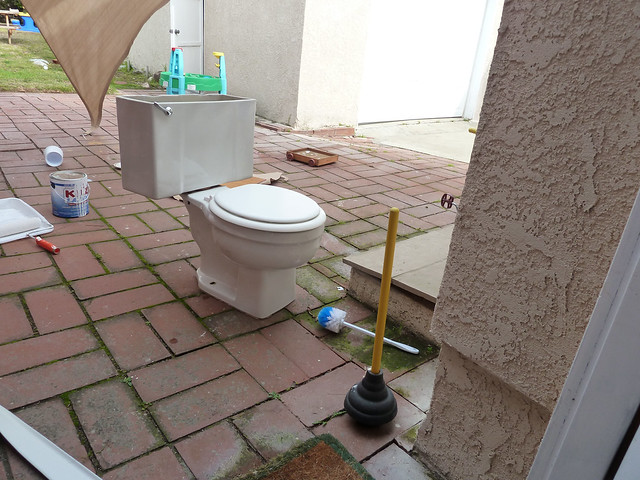
and in the backyard! Yes, we are the hillbillies of our neighborhood. (Don't worry, it didn't stay like that for long!) Ha!
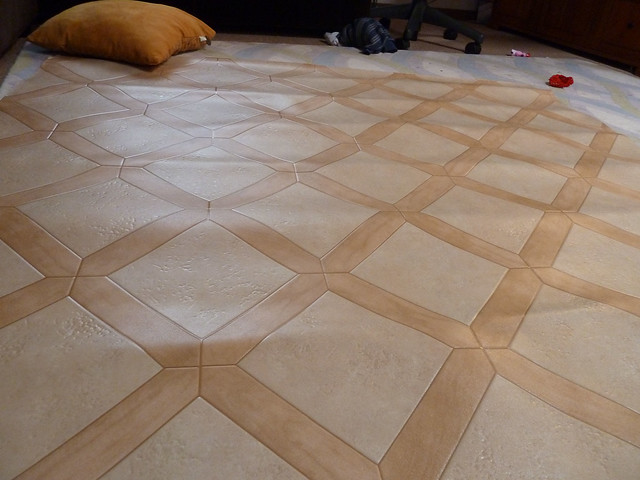
We used the leftover scraps of vinyl flooring we had from when we re-did the floors in our old house. The price was right - they were free!
Since they had been rolled up in our garage for 6 years, they were really bumpy. I laid them out and then ironed them with a towel over them (so they wouldn't burn). It worked...sorta.
Putting down the adhesive on the floor. It was also leftover stuff we had laying around. Cost: $0.

We put bricks on the floor to help the adhesive do its job, since the floors were so wrinkly from being in storage.

Floor is in, new paint on walls and cabinet, and new hardware on cabinet:

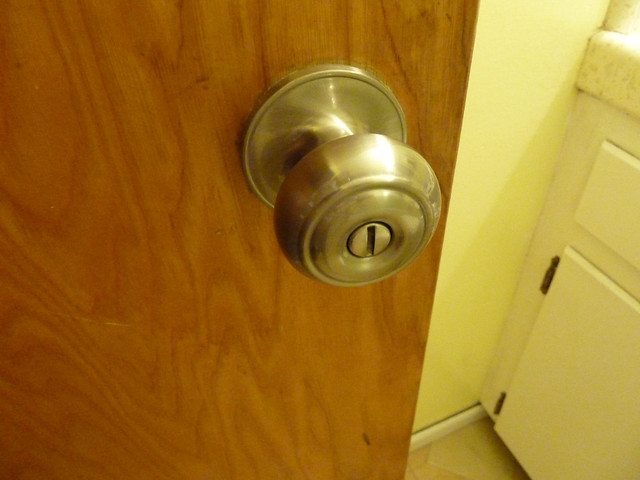
We replaced the doorknob because the old one didn't work. Cost: $13
We had planned on painting the door, too, but didn't get around to it. Maybe someday!
New light fixture from Home Depot: $35
I got the Surfboard wallpaper border on Ebay for $6, and the matching outlet covers were $12, also from Ebay.
We decided to do a wallpaper border in both bathrooms basically because we didn't want to have to worry about being precise in our painting. ;-)

We got a new toilet through the LA County toilet exchange program. Basically, you bring in your old inefficient, water-wasting toilet, and they give you a water-saving toilet for FREE (the best price)! You just have to bring in your water bill to verify residence in LA County.

Before:

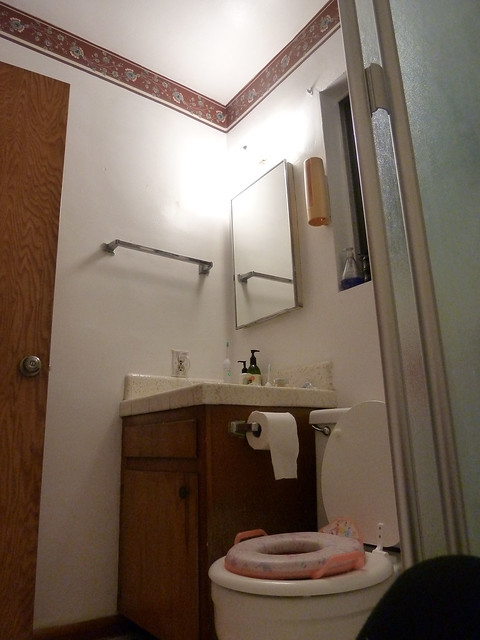
After:


Budget:
Paint/Supplies - $30
New Light Fixture - $35
Misc. supplies - $15
New Towel Racks and Toilet Paper Holder - $40
New Door Knob - $13
New Hardware for Cabinet - $44
Surfboard Wallpaper Border - $6
Surfboard Outlet Covers - $12
Total: $195
We finished it a few months ago, and I am still really happy with it. As always, there are things I would change with more time and money. But for now, it's good with me. What do you think? :-)


3 comments:
What an amazing transformation! I love it! So beach~y bungalow! LOVE IT!
Wow, you found some seriously good deals!! That is cool about the toilet exchange program. I wonder if other counties do that too. Ill have to check in on that.
The bathroom looks great and it must feel so nice to have it all spruced up! I enjoy your DIY posts :)
Hope you are feeling well! Xoxo
Lauren
You guys are some serious weekend warriors. It looks amazing and I cannot believe the cost!
Post a Comment